

How To Fix Bumper Plate Holes
Whether someone mistakenly backed into your car in a grocery store parking lot or that concrete pole was just a little closer than predictable, your car's bumper is likely to have taken a bruising or two over the grade of regular usage.
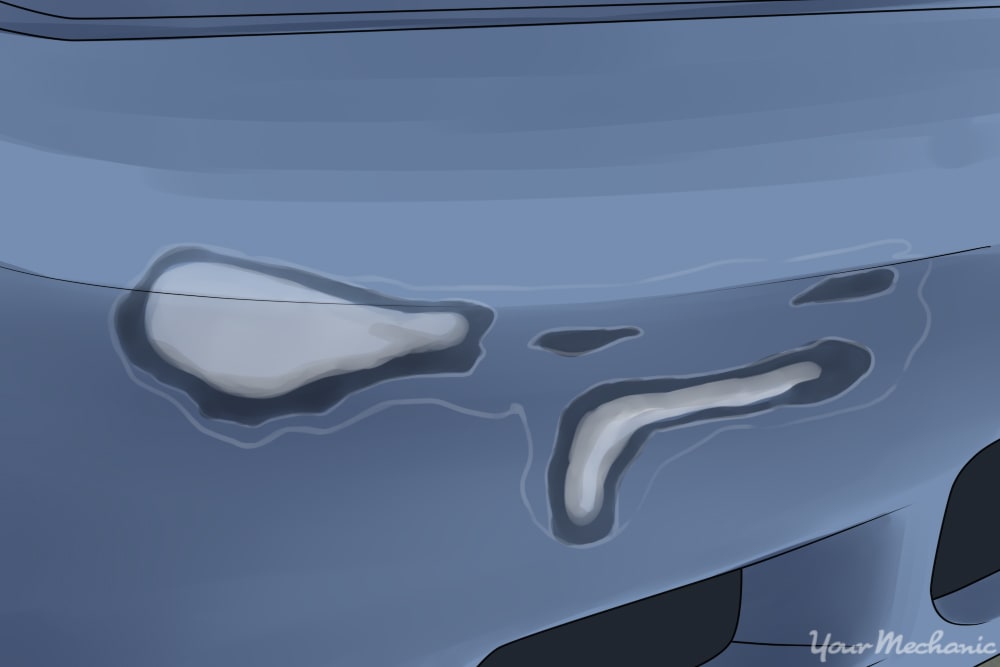
The amount of affect captivated by the bumper will determine whether the bumper is repairable or not. Some bumpers will cave-in while others will crack. Luckily, those 2 types of bumper bruises are repairable in well-nigh all cases, unless the damage is farthermost. If the bumper is subject to lots of cracks or if it is missing a lot of its material, it may exist better to replace the bumper itself.
Often, you will accept to consult with a local machine trunk shop to determine the degree of impairment, and nigh body shops volition provide a complimentary repair guess. But before allowing the body shop to really repair your vehicle for you, there are a few easy ways to fix a damaged bumper yourself using a few items that you may already have around the house.
Part 1 of 2: Repair a caved-in bumper
Materials Needed
- Estrus gun or pilus dryer (generally a hair dryer is safer for this procedure just it may not always practise the job)
- Jack
- Jack stands
- Long pry bar or crowbar
- Safety glasses
- Work gloves
Step 1: Raise the vehicle and support it securely with jack stands. To secure the jack stands, make sure the jack stands are on a solid surface and use a jack to lower the pinch weld or inner frame of the vehicle to rest on the jack stand up. You can find more than information on securing the jack stands here
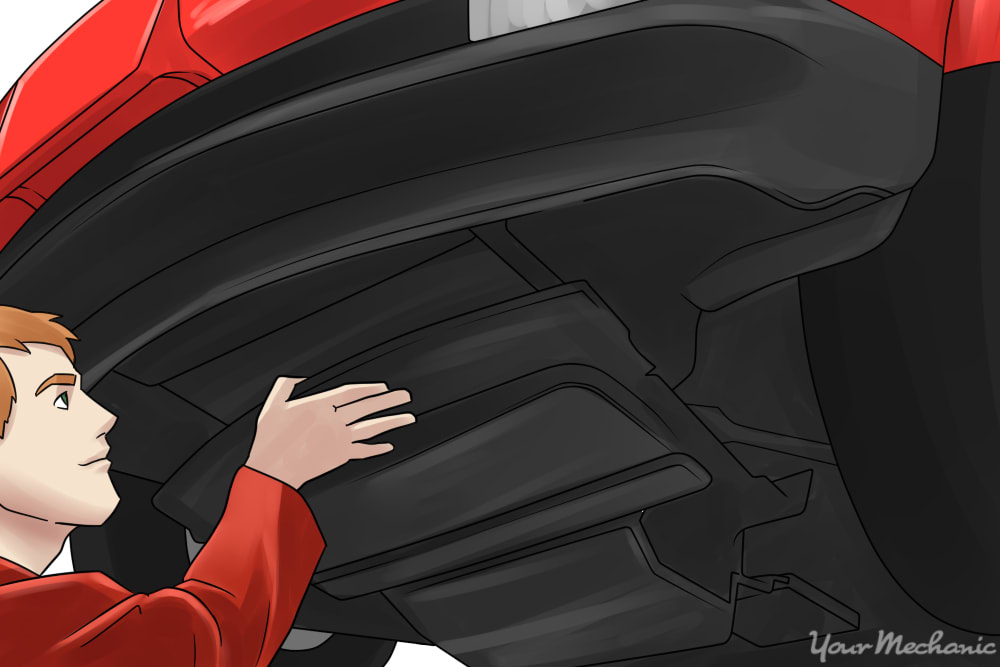
Step two: Remove the splash guard. If applicable, remove the splash baby-sit underneath the vehicle or fender well guard to admission the rear affected area of the bumper. The splash guard volition be held on past plastic clips or metallic bolts.
Pace 3: Warm up the damage area. Use a oestrus gun or hair dryer to evenly warm upward the damaged surface area. Use the heat gun until the bumper becomes pliable. Information technology should merely take near 5 minutes to warm the bumper to a temperature where it becomes flexible.
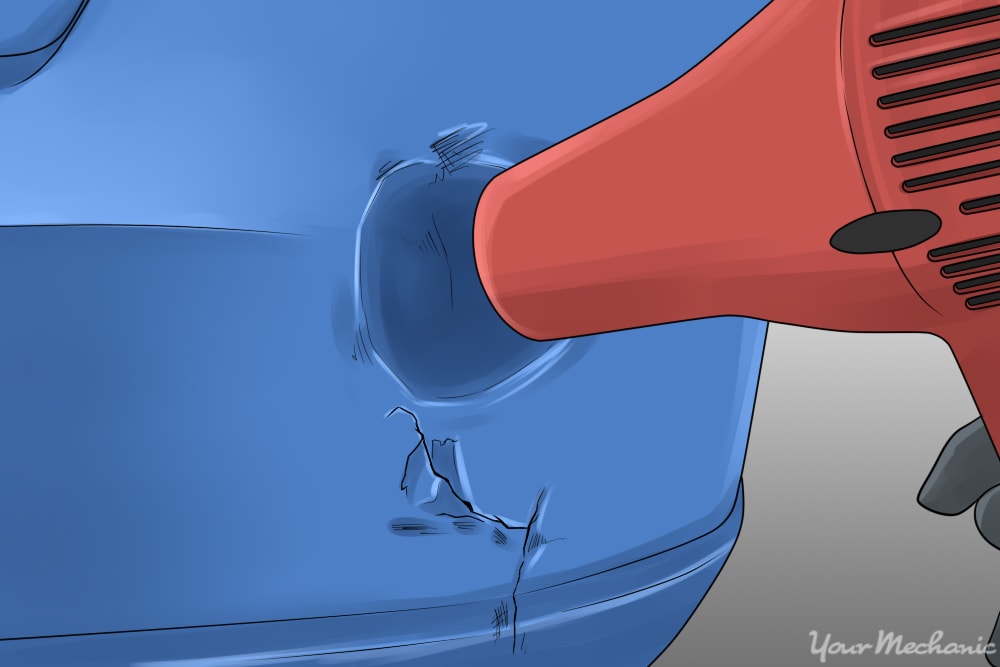
- Alarm: If yous are using a rut gun, be sure to keep the heat gun at a iii to 4 feet altitude from the bumper as it reaches high temperatures that can melt paint. Using a hair dryer will usually become the bumper warm plenty to get flexible merely not hot plenty to melt the paint.
Step iv: Push button out the bumper. While heating or after yous terminate heating the bumper, utilise the pry bar to push the bumper from the inside out. You should discover the caved-in portion begin to push out as you apply pressure with the crowbar. If the bumper is yet not very flexible, warm the afflicted area until it becomes pliable.
-
Tip: It may exist helpful to have a friend heat the bumper while y'all use the pry bar.
-
Tip: Push the bumper out evenly. Push out the deepest areas first. If one portion of the bumper is progressing to its normal shape well and the other is not, conform the pry bar to employ more pressure to the portion that is more recessed.
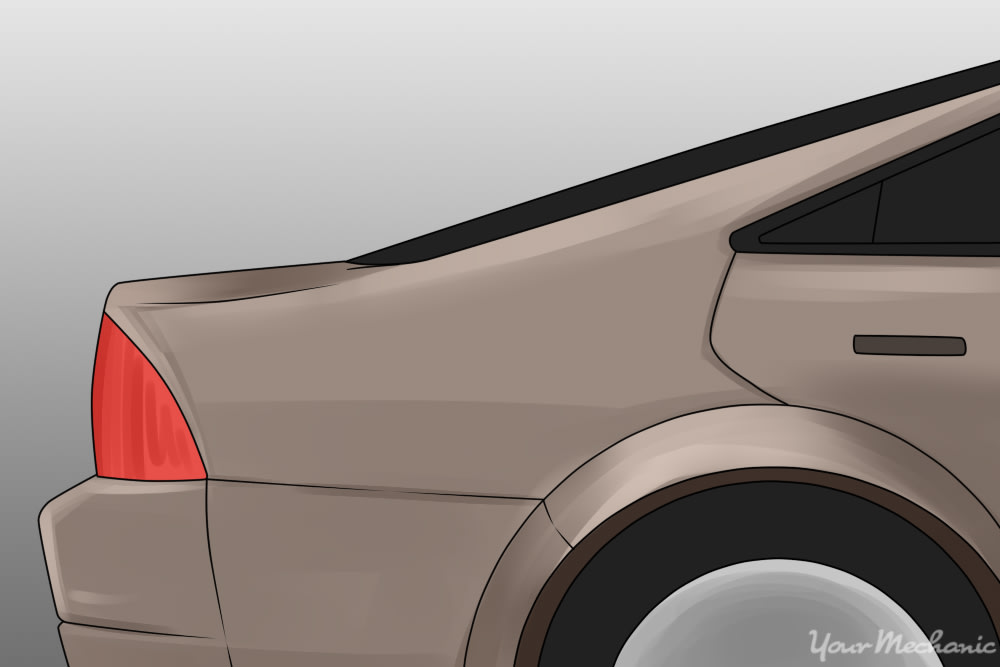
Repeat this process until the bumper is back to its normal curvature.
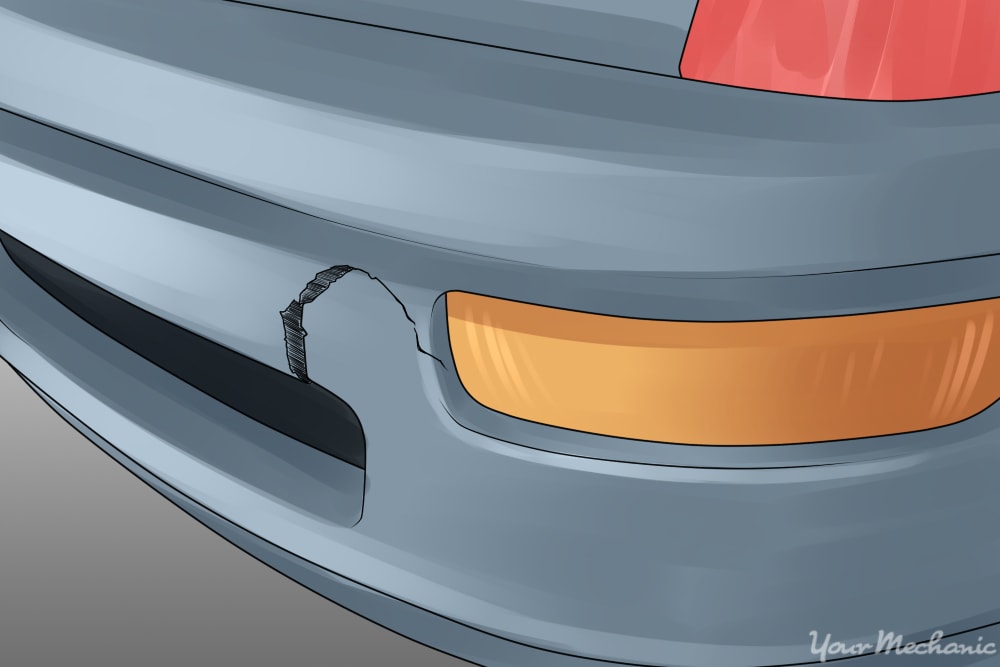
Part 2 of two: Repair a cracked bumper
Materials Needed
- ¼ inch burrowing tool
- Air compressor suitable for tool usage(you will only need an air compressor if you are using air powered tools)
- Angle grinder
- Body filler such as Bondo
- Drill or dremel to fit burrowing tool
- Dust mask
- Jack
- Jack stands
- Masking paper or newspaper
- Paint castor
- Pigment prep cleaner or 3M wax and grease remover
- Plastic or fiberglass bumper repair kit (depending on the type of material used in your automobile's bumper)
- Putty knife or Bondo spreader
- Sand paper (180,80, 60 grit)
-
Record with moderate adhesion properties
-
Tip: When fiberglass bumpers crack, they will go out fiberglass hairs visible along the edges of the croaky expanse. Have a look inside the cracked area of your bumper. If you see long white hairs, information technology indicates that your bumper is made from fiberglass. If you are unsure whether your bumper is made of fiberglass or plastic, consult with a local Body Store or make a quick phone telephone call to your dealer and asking the bumper construction specifications.
-
Alarm: Always wear a dust mask when working with fiberglass or sanding material to forbid breathing in harmful and sometimes toxic particles.

Step ane: Elevator and secure the vehicle. Jack upwardly the vehicle and secure it with jack stands.
Remove the bumper for ease of access.
Footstep 2: Clear the area. Clean away all dirt, grease or grime from the front and rear department of the afflicted area. The cleaned surface should extend upward to about 100 mm from the fissure.
Step 3: Remove excess plastic. Use the bending grinder or cut bike to remove whatever excess fiberglass hairs or jagged plastic. Use the angle grinder cut wheel to straighten out the rigid edges every bit much as possible. Use the dremel with the burrowing tool to become to those hard to reach areas.
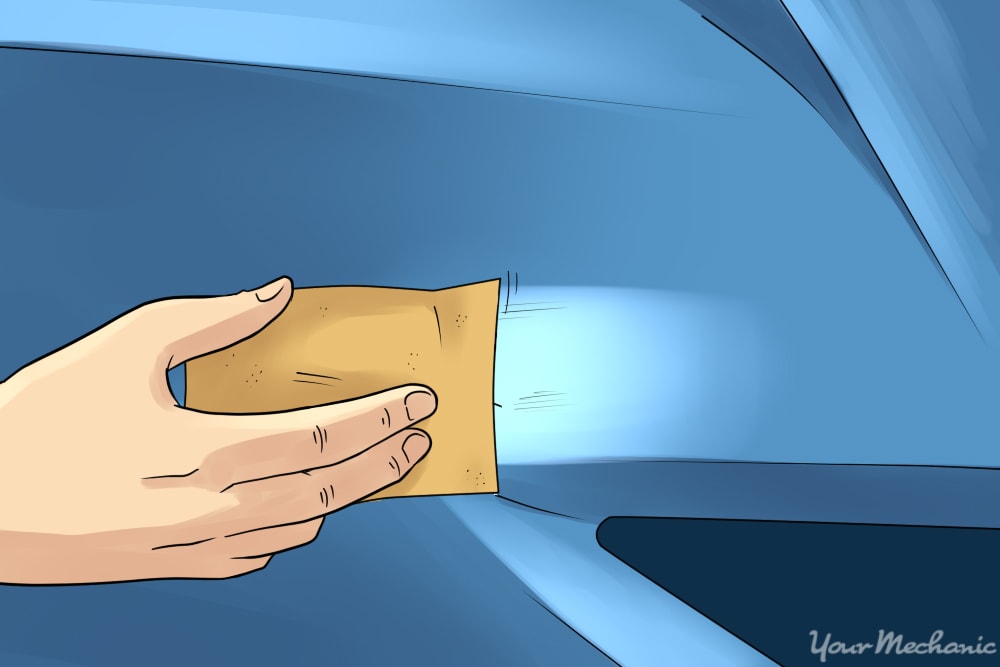
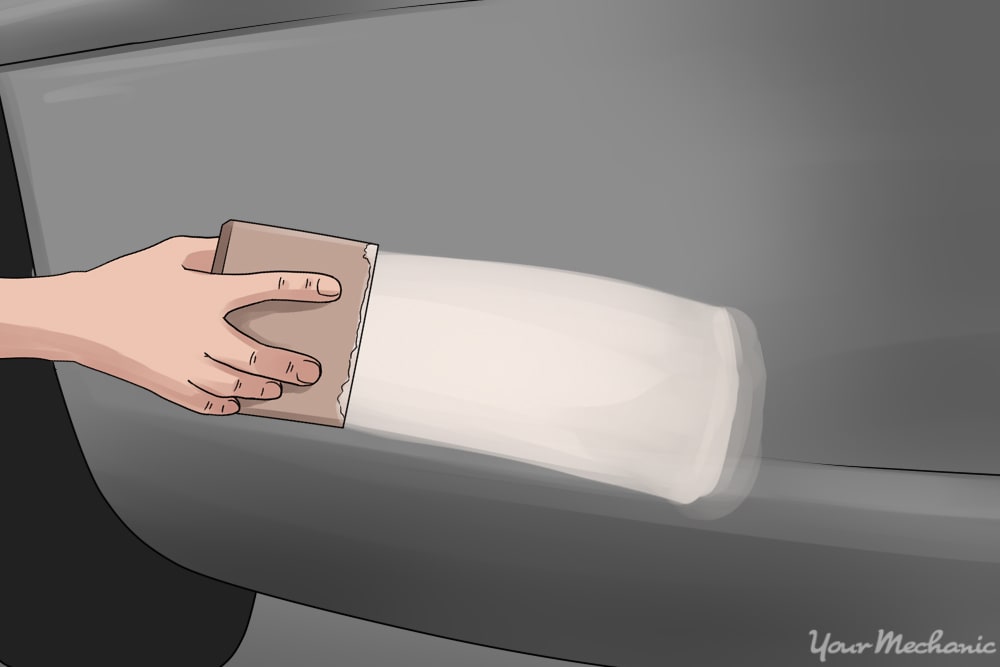
Step 4: Sand the damaged expanse with 60 grit sandpaper. Sand up to 30 millimeters around the repair surface for plastics and 100 millimeters for fiberglass bumpers.
Step 5: Remove excess grit with a rag. If there is an air compressor bachelor, use it to blow off any excess dust from the surface.
Step half-dozen: Ready the surface area. Clean the area with pigment prep or 3M wax and grease remover.
Remove the contents from bumper repair kit.
- Annotation: If your bumper is plastic, please proceed to step fourteen.
Step seven: Cutting 4-vi pieces of fiberglass sheets, well-nigh thirty-fifty millimeters larger than the affected area.

Step 8: Mix catalyst and resin together. Mix the catalyst and resin co-ordinate to the instructions given with the bumper repair product. Once mixed correctly, you should see the color change.
Step nine: Apply the resin. Using a paintbrush, utilise the resin to the repair area.
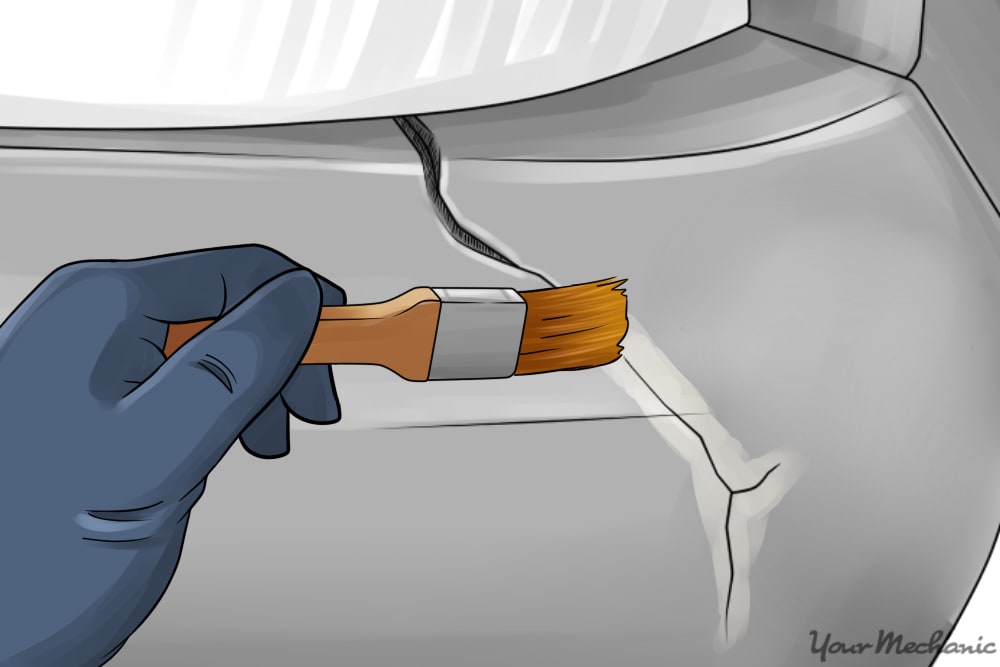
- Tip: Ensure that the unabridged repair area is wet with resin.
Step ten: Coat the expanse thoroughly. Apply layer upon layer of fiberglass sheets while supplying sufficient resin in betwixt layers.
- Tip: Utilise iv-five layers of fiberglass sheets. Push button out any air bubbles with the pigment castor. Add together additional layers of sheets for additional strength.
Allow information technology dry out for 10 minutes.
Step 11: Coat the forepart area. Employ resin to the front side of the repaired area. Allow it dry for 30 minutes.
Step 12: Sand the front of the repair expanse. Sand the front of the repaired area with 80 grit sandpaper. Sand abroad lumpy, uneven resin formations to friction match the normal smooth curvature of the bumper.
Step xiii: Clean the surface area. Make clean the repaired area with paint prep or 3M wax and grease remover.
- Note: If your bumper is made from fiberglass, you can proceed to employ body filler. Please proceed to step 17.
Pace 14: Mix the repair kit contents. To repair a plastic bumper, mix the contents in compliance with the instructions provided with the repair kit.
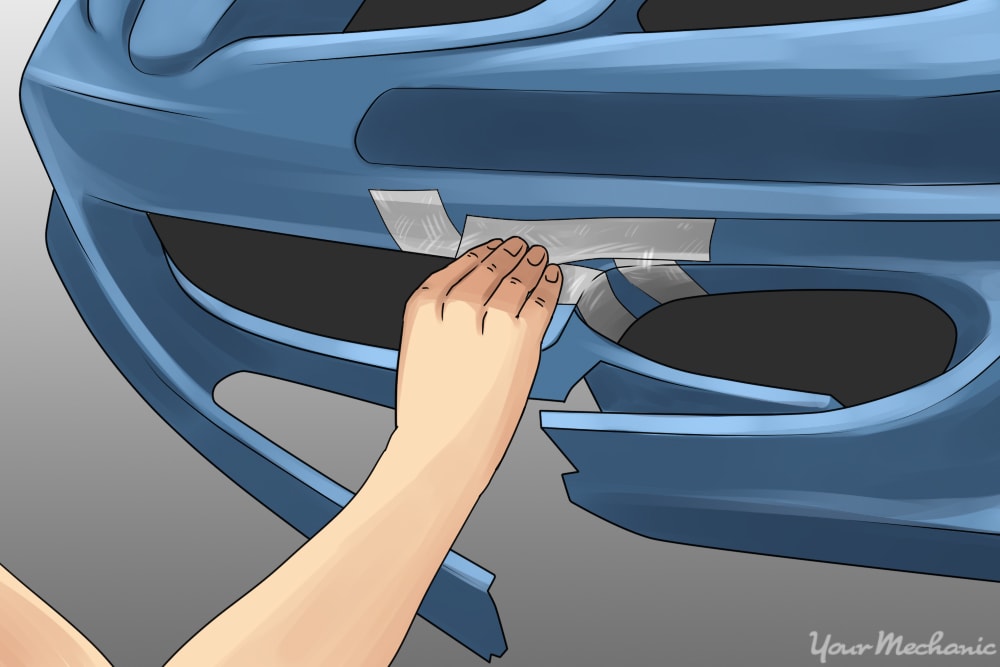
Stride xv: Tape the cracked surfaces together. On the front side of the repair area, utilise the tape to pull the opposing edges of croaky surfaces together. This will add more stability during repair.
Footstep 16: On the rear side of the repair area, use a putty knife or Bondo spreader to apply the bumper repair product. When applying the repair product, angle the putty pocketknife so that the product is pushed through the crack and is squeezed outwards through the front end. Ensure that you cover an area extending about 50 millimeters from the crack.

Let dry according to the fourth dimension suggested past the repair kit manufacturer.
Stride 17: Gear up and mix the body filler according to the packaging instructions. Utilise multiple layers of body filler with the putty knife or Bondo spreader. Build the surface using 3-4 wipes. Style the layers to form the shape and contour of the original bumper.

Let information technology dry out according to the repair kit manufacturer'due south instructions.
Step 18: Remove the tape. Start peeling off the tape and remove it from the bumper.

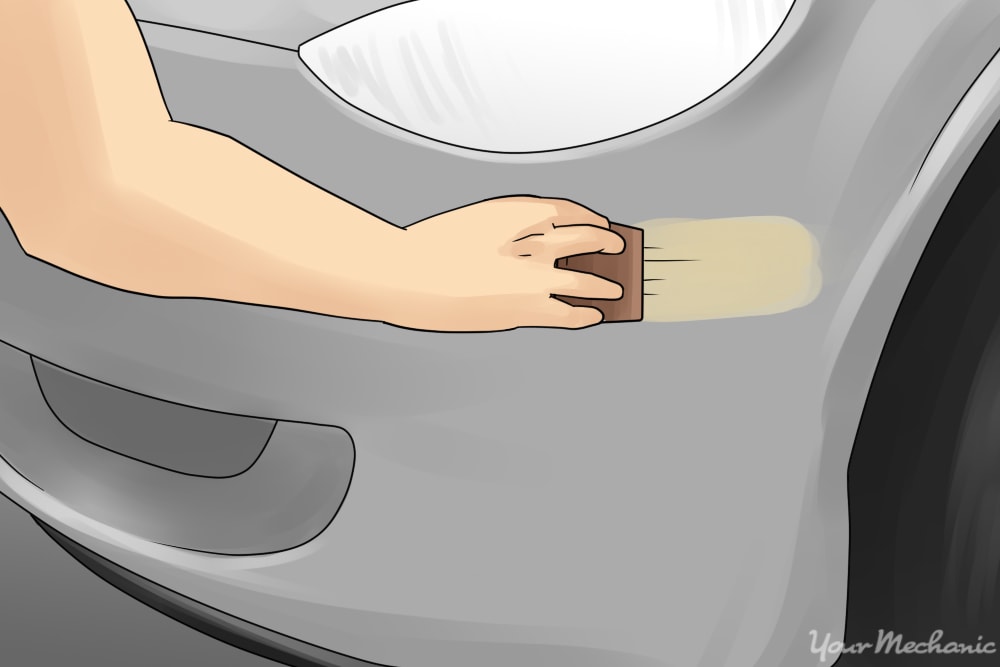
Pace 19: Sand the surface. Sand with fourscore dust sandpaper, feeling the surface as you sand, to see how the repair is coming forth. As you sand it, the surface should gradually transition from rough to well-nigh smooth.
Stride 20: Use 180 dust sandpaper to set up the repair area for priming. Sand until the repair expanse becomes even and very smoothen.
Footstep 21: Clean the expanse. Clean the repaired area with paint prep or 3M wax and grease remover.
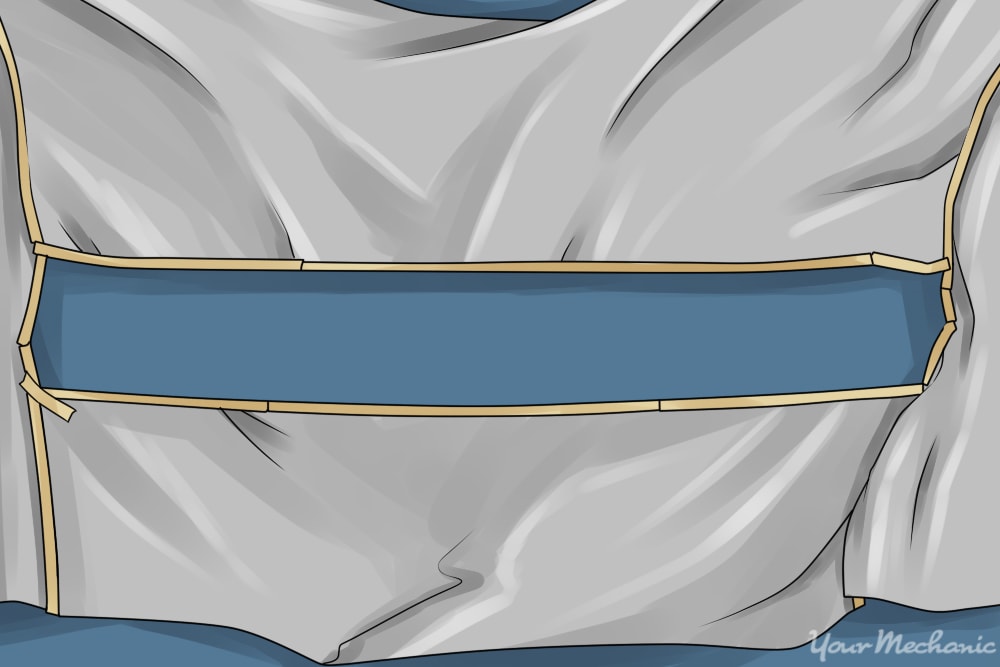
Step 22: Prepare to apply primer. Using paper and masking tape, cover the surfaces surrounding the repaired expanse in preparation for primer.
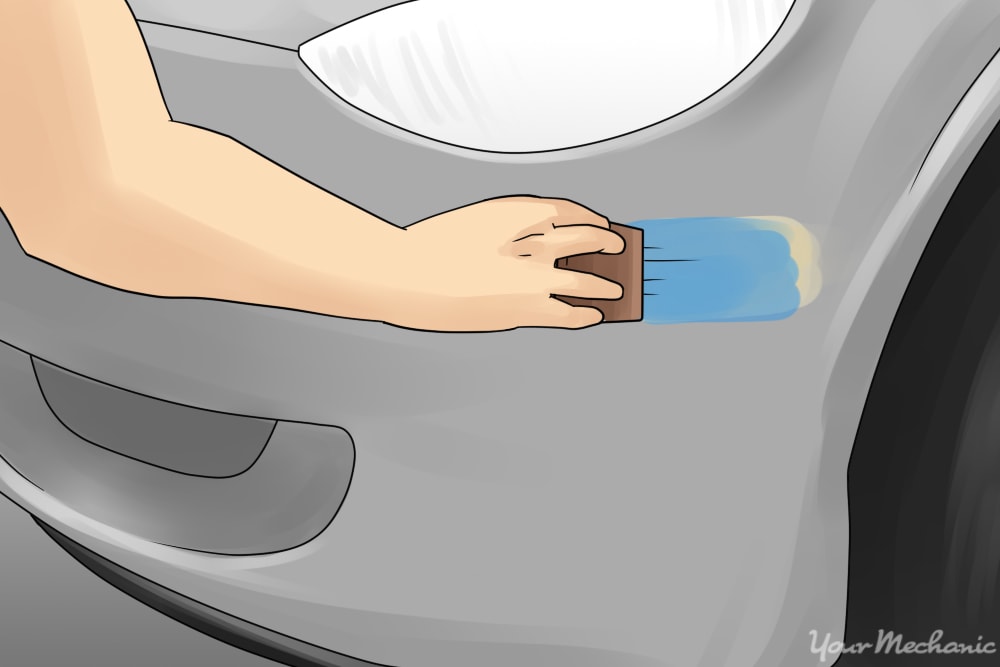
Pace 23: Utilize 3-5 layers of primer. Allow sufficient fourth dimension for the primer to dry earlier y'all apply the next layer.
Now, the repair work is consummate. All that your bumper now needs is a paint task!
If you follow the instructions properly, no ane volition ever be able to tell that whatsoever harm occurred to your car'south bumper. By performing this repair process on your own, you can cut off almost 2-thirds of your body shop pecker!
The statements expressed above are just for informational purposes and should be independently verified. Delight meet our terms of service for more details

How To Fix Bumper Plate Holes,
Source: https://www.yourmechanic.com/article/how-to-repair-an-auto-bumper
Posted by: mansfieldsperve.blogspot.com
0 Response to "How To Fix Bumper Plate Holes"
Post a Comment